 ultimate-guide
Extend Dishwasher Lifespan: 9 Essential Maintenance Steps
Table of Contents
- Why Dishwasher Maintenance Matters for Longevity
- How to Clean Dishwasher Filter: Your First Line of Defense
- Wipe Door Gaskets and Seals Regularly
- Check and Clear Spray Arms for Clogs
- Run a Deep Clean Cycle Monthly
- Inspect Racks and Tines for Rust Prevention
- Maintain the Drain and Pump Area
- Address Hard Water Mineral Buildup
- Create Your Dishwasher Maintenance Checklist
- When to Call Reliable Dishwasher Repair Near Me
- Frequently Asked Questions
Last Updated: October 2, 2026
Why Dishwasher Maintenance Matters for Longevity
A dishwasher that runs efficiently can last 10-15 years or more with proper care. Without it, you're looking at costly repairs or premature replacement. The difference comes down to one simple fact: preventative maintenance catches small problems before they become expensive ones.
Most homeowners treat dishwashers as set-and-forget appliances. But debris, mineral deposits, and detergent buildup gradually compromise performance, door gaskets crack, spray arms clog, drain pumps struggle, and each issue compounds the next.
Our factory-trained, certified technicians provide timely, professional in-home repair, maintenance, and warranty support across most major appliance makes and models.
Extending your dishwasher lifespan requires consistency, not special skills or expensive tools. A few minutes monthly can add years to your appliance's life.
How to Clean Dishwasher Filter: Your First Line of Defense
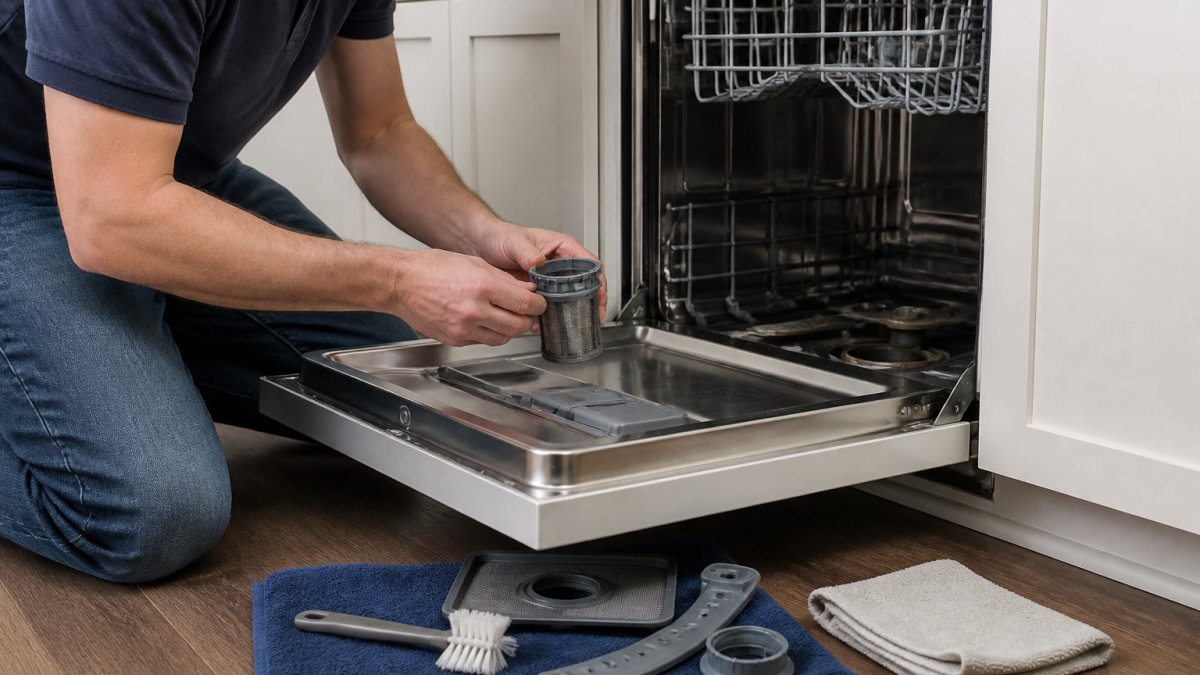
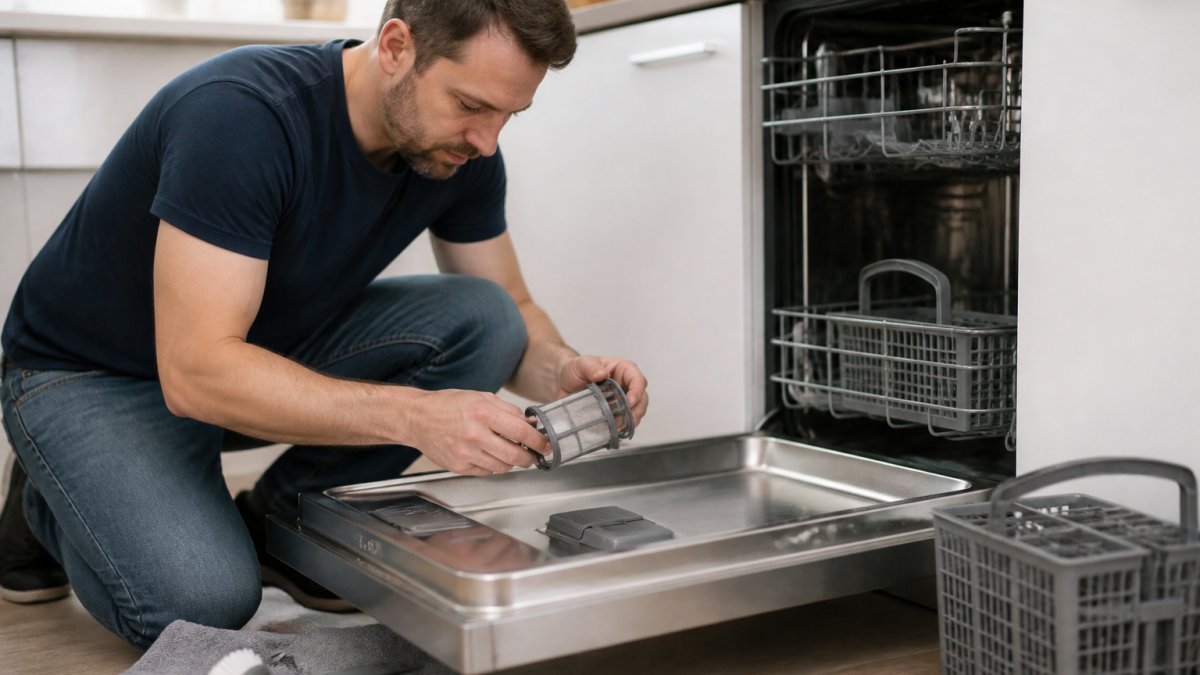
Your dishwasher filter prevents food debris from reaching the drain pump and spray arms. A clogged filter forces harder work, reducing cleaning performance and straining components. Cleaning it regularly is the single most important step to extend dishwasher lifespan.
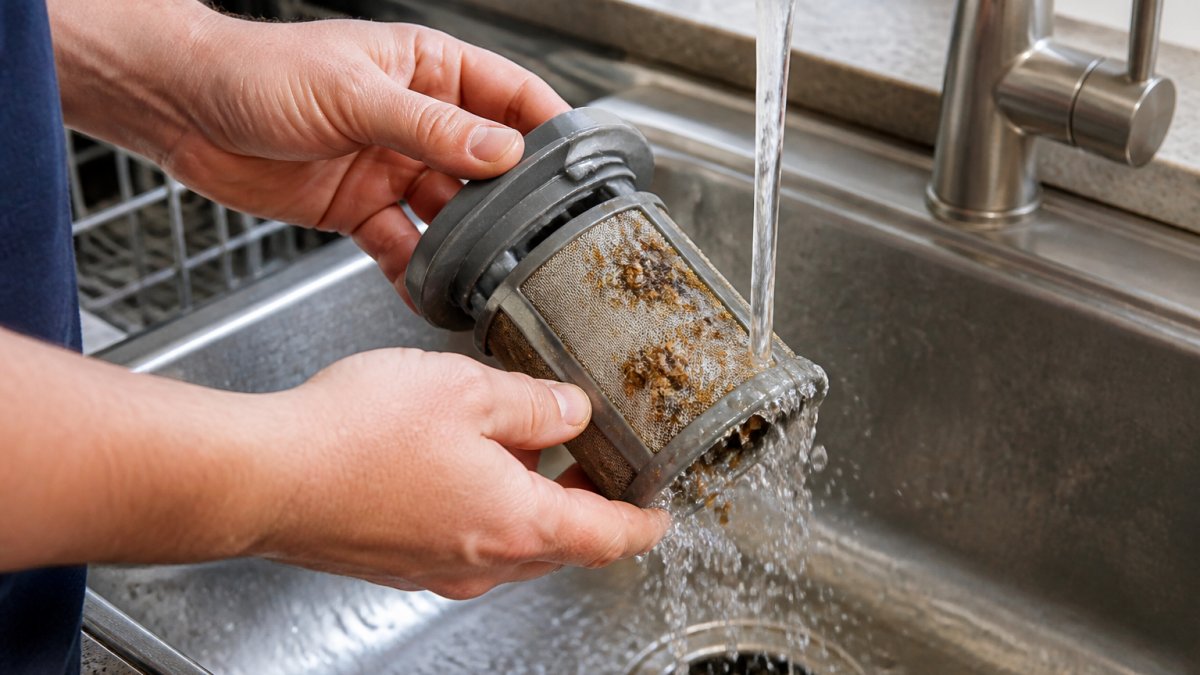
Monthly Filter Inspection and Cleaning
Remove your filter monthly to inspect for visible buildup. Most filters are at the bottom of the tub; check your manual for exact location and removal procedure.
Hold the filter under warm running water and use a soft brush to rinse away food particles, paying special attention to mesh sections. Use gentle circular motions to avoid damaging the mesh.
For stubborn residue, soak the filter in warm soapy water for 15 minutes to loosen dried-on food and detergent buildup, then rinse thoroughly and reinstall.
Removing Stubborn Debris and Buildup
For debris stuck in crevices, use a soft toothbrush to access tight spaces without damaging the filter material.
For mineral deposits, soak the filter in white vinegar for 30 minutes to break down accumulation, then rinse well before reinstalling.
Never use abrasive scrubbers, steel wool, or harsh chemicals, these damage the mesh and reduce effectiveness.
Wipe Door Gaskets and Seals Regularly
The rubber door gasket creates a watertight seal that prevents leaks and maintains water temperature. A damaged or dirty gasket compromises both functions, risking water damage to floors.
Inspect your door gasket monthly for cracks, tears, or hardening. Gently pull it away and wipe with a damp cloth, paying special attention to corners where debris accumulates.
For white or pink buildup (mineral deposits or mold), wipe with a cloth dampened in white vinegar, then air dry before closing the door.
A well-maintained gasket stays flexible and seals properly; a neglected one hardens, cracks, and leaks. Regular wiping prevents costly water damage.
Check and Clear Spray Arms for Clogs
Spray arms distribute water throughout the wash cycle. Clogged nozzles cause uneven distribution, poor cleaning, and longer cycles that stress internal components.
Remove spray arms (most pull straight out or twist counterclockwise). Hold each up to light and look through nozzle holes for clear openings.
If nozzles are blocked, use a toothpick to gently clear each hole. Soak the spray arm in white vinegar for 20 minutes to dissolve mineral deposits, then rinse thoroughly.
Reinstall spray arms securely and verify they rotate freely before running your next cycle.
Run a Deep Clean Cycle Monthly
Monthly deep cleaning removes detergent buildup, mineral deposits, and odors, keeping internal components clean and preventing musty smells.
Using Vinegar for Natural Cleaning
Run your dishwasher empty on the hottest cycle with a cup of white vinegar in a dishwasher-safe container on the upper rack. The vinegar circulates through spray arms and drain system, breaking down buildup.
Vinegar's acidity cuts through mineral deposits and neutralizes odors from trapped food particles, keeping your dishwasher efficient and fresh-smelling.
Baking Soda for Odor Removal
After the vinegar cycle, sprinkle half a cup of baking soda on the tub bottom and run another hot cycle. Baking soda removes stubborn residue the vinegar loosened.
This two-step approach provides thorough cleaning without harsh chemicals, safely tackling mineral buildup and odors.
Inspect Racks and Tines for Rust Prevention
Dishwasher racks endure constant stress. Plastic tines can crack or break, and metal components can rust if the protective coating is damaged.
Remove racks monthly and inspect for cracks in tines, rust spots, or worn coating. Small cracks usually don't affect function, but broken tines that don't hold dishes securely should be replaced.
For rust spots, clean with a damp cloth and dry completely. For existing rust, use fine steel wool to remove it, then dry and apply clear nail polish to exposed metal to prevent further rust.
Severely damaged racks should be replaced. We also maintain a comprehensive inventory of genuine replacement parts, making it easy for homeowners and DIYers to keep their equipment running at peak performance.
Maintain the Drain and Pump Area
The drain system removes dirty water after each cycle. Debris accumulation causes backup, standing water, odors, and mold growth.
Many dishwashers have a secondary drain filter near the main filter. Remove it monthly and rinse away debris to prevent particles from reaching the drain pump.
The drain hose can accumulate debris. If drainage is slow, turn off water and power, disconnect the hose, run water through it to clear blockages, then reconnect securely.
Proper drain maintenance prevents backups and keeps your dishwasher efficient. A clogged drain forces the pump to work harder and can eventually cause costly failure.
Address Hard Water Mineral Buildup
Hard water deposits accumulate on heating elements, spray arms, and filter screens, reducing efficiency and causing spotty dishes. Mineral management is essential to extend dishwasher lifespan in hard water areas.
Identifying Hard Water Mineral Buildup
Mineral deposits appear as white, chalky, or cloudy buildup on the interior tub, spray arms, and heating element. You may also notice:
- White spots or film on dishes after drying
- Reduced water pressure from spray arms
- A chalky residue inside the filter housing
- Slow drainage caused by mineral accumulation in the pump
If you see these signs, hard water is likely the culprit. Approximately 85% of households have hard water to some degree.
Testing Your Water Hardness
Water hardness is measured in parts per million (ppm) or grains per gallon (gpg). Test your water hardness three ways:
1. Contact your local water utility for free water hardness reports listing mineral content.
2. Use an inexpensive test strip ($5-$15) that changes color based on mineral concentration.
3. Request a professional water analysis from water treatment companies for the most accurate results.
Water hardness levels:
- 0-60 ppm: Soft (minimal mineral deposits)
- 61-120 ppm: Moderately hard (some buildup expected)
- 121-180 ppm: Hard (significant maintenance needed)
- 180+ ppm: Very hard (aggressive treatment required)
DIY Mineral Removal: Vinegar vs. Commercial Cleaners
White vinegar (acetic acid, 5% concentration):
- Cost: $2-$4 per gallon
- Effectiveness: Removes light to moderate mineral deposits
- Method: Run dishwasher empty on hottest cycle with 1-2 cups vinegar in a dishwasher-safe container on upper rack
- Frequency: Monthly for moderately hard water; twice monthly for hard water
- Limitations: Less effective on heavy, baked-on mineral deposits; vinegar smell may linger briefly
Commercial dishwasher cleaners (citric acid or phosphoric acid-based):
- Cost: $4-$8 per bottle
- Effectiveness: Removes moderate to heavy mineral deposits more aggressively than vinegar
- Common brands: Affresh, Finish Dishwasher Cleaner, Lemi Shine
- Method: Follow product instructions (typically run empty cycle with cleaner in designated slot or tub)
- Frequency: Monthly to quarterly depending on water hardness
- Advantage: Formulated specifically for dishwashers; stronger acid concentration dissolves stubborn deposits faster
Baking soda (sodium bicarbonate):
- Cost: $1-$3 per box
- Effectiveness: Mild abrasive; removes light deposits and odors
- Method: Sprinkle ½ cup on tub bottom, run hot cycle after vinegar treatment
- Limitations: Not effective on heavy mineral buildup; works best as secondary treatment
For water hardness above 120 ppm, alternate between vinegar (monthly) and commercial cleaner (quarterly) for optimal results.
Using Rinse Aid to Prevent Mineral Spotting
Rinse aid reduces water surface tension, allowing water to sheet off dishes rather than pooling, preventing mineral spots and protecting internal components.
Fill your dishwasher's rinse aid dispenser (usually located inside the door) and set the hardness level dial to match your water hardness test results. Most dishwashers have a 1-10 hardness dial; consult your manual for the correct setting. Rinse aid costs $3-$6 per bottle and lasts 2-3 months with regular use.
When to Consider Water Softening
If your water hardness exceeds 180 ppm or you're running commercial cleaners more than twice monthly and still seeing heavy deposits, a whole-home water softener may be cost-effective.
Point-of-use softeners (installed under the sink or on the dishwasher inlet line):
- Cost: $200-$600 installed
- Benefit: Softens only dishwasher water, reducing salt usage
- Maintenance: Requires salt refills every 2-3 months
Whole-home water softeners (installed at the main water line):
- Cost: $1,000-$2,500 installed
- Benefit: Softens all household water, protecting all appliances
- Maintenance: Requires salt refills monthly to quarterly
- Additional benefit: Reduces mineral buildup in pipes, water heaters, and other appliances
A water softener dramatically extends dishwasher lifespan in hard water areas and typically pays for itself within 5-7 years through reduced repair costs and extended appliance life.
Maintenance Schedule for Hard Water Areas
- Monthly: Run vinegar cleaning cycle
- Quarterly: Run commercial dishwasher cleaner cycle
- Monthly: Check rinse aid level and refill if needed
- Quarterly: Inspect spray arms and filter for visible mineral deposits; soak in vinegar if needed
- Annually: Test water hardness; adjust rinse aid dial if hardness level has changed
Create Your Dishwasher Maintenance Checklist
Consistency matters more than intensity when maintaining your dishwasher. A structured checklist ensures you don't miss important tasks and helps you spot developing problems early.
| Task | Frequency | Time Required | Notes |
|---|---|---|---|
| Clean dishwasher filter | Monthly | 5 minutes | Remove debris under running water |
| Wipe door gasket | Monthly | 3 minutes | Check for cracks or hardening |
| Clear spray arm nozzles | Monthly | 5 minutes | Use toothpick for stubborn clogs |
| Run vinegar deep clean cycle | Monthly | 1 hour | Run empty with vinegar on hottest setting |
| Inspect racks for damage | Quarterly | 5 minutes | Look for rust or broken tines |
| Check drain system | Quarterly | 10 minutes | Remove secondary drain filter if present |
| Flush drain hose | Annually | 15 minutes | Turn off water/power before disconnecting |
| Test water hardness | Annually | 5 minutes | Adjust rinse aid if needed |
Post this checklist on your refrigerator or set phone reminders for monthly tasks. The time investment is minimal, less than 20 minutes per month, but the payoff in appliance longevity is substantial.
When to Call Reliable Dishwasher Repair Near Me
Some problems require professional attention. Regular maintenance catches many issues early, but certain failures demand expert diagnosis. Modern dishwashers display error codes that help you understand what's wrong and whether the problem is urgent or can wait for a scheduled service appointment.
Understanding Dishwasher Error Codes
Most modern dishwashers display error codes on the control panel when a sensor detects a problem. These codes help you communicate the issue to a repair technician and determine urgency.
Common error codes and their meanings:
-
E1 or IE (Inlet Error): Water is not entering the dishwasher. Check that the water supply valve is open, the inlet hose is not kinked, and the inlet filter is not clogged. If water still won't fill after checking these, the inlet valve may be faulty and requires professional replacement.
-
E2 or OE (Drain Error): Water is not draining properly. This is often caused by a clogged drain filter, blocked drain hose, or debris in the pump. Remove and clean the drain filter first (see Maintain the Drain and Pump Area section). If the error persists, the drain pump may be failing.
-
E3 or FE (Fill Error): The dishwasher filled with too much water or cannot detect proper water level. Check the inlet hose for kinks and the filter for blockages. If the error continues, the float switch or water level sensor may need replacement.
-
E4 or CE (Communication Error): The control board is not communicating with sensors or components. This is typically a wiring or circuit board issue requiring professional diagnosis.
-
E5 or HE (Heating Error): Water is not heating to the proper temperature. The heating element may be faulty, or the thermostat may be broken. This requires professional replacement.
-
E6 or UE (Unbalanced Load Error): Some models detect an unbalanced load and pause the cycle. Remove the rack, redistribute dishes evenly, and restart. If the error repeats with balanced loading, a sensor may be faulty.
-
E7 or PE (Pressure Error): Water pressure is too low or too high. Check that the inlet valve is fully open and the inlet filter is clean. If pressure remains abnormal, the inlet valve or pressure sensor requires professional service.
Consult your dishwasher's manual for the complete error code list, as codes vary by manufacturer and model. Many manufacturers also provide online error code databases searchable by model number.
DIY Troubleshooting Before Calling a Professional
Before scheduling a service call, perform these diagnostic steps:
For drainage issues:
- Remove and clean the drain filter thoroughly
- Check the drain hose for kinks or blockages (disconnect and run water through it)
- Ensure the drain hose is not submerged in standing water under your sink
- Run a vinegar cleaning cycle to dissolve any mineral or detergent buildup in the drain system
For filling issues:
- Verify the water supply valve under the sink is fully open
- Check the inlet hose for kinks, cracks, or pinches
- Remove the inlet filter screen and rinse it clean
- Run a test cycle to see if water enters normally
For cleaning performance issues:
- Clean the spray arm nozzles with a toothpick
- Ensure racks are loaded correctly (dishes should not block spray arm rotation)
- Use the correct detergent amount for your water hardness
- Run a vinegar cleaning cycle to remove detergent buildup
For odor issues:
- Clean the filter and drain system thoroughly
- Run a vinegar and baking soda cleaning cycle
- Wipe the door gasket and check for mold growth
- Leave the door open between cycles to allow air circulation
If these steps resolve the error code or problem, no professional service is needed. If the issue persists after troubleshooting, the component likely requires professional replacement.
When Professional Service Is Necessary
Contact a professional repair service if you encounter:
- Persistent error codes after troubleshooting (indicates sensor, valve, or pump failure)
- Water pooling at the bottom after cycles complete (drain pump or seal failure)
- Dishes remaining dirty despite normal cycles and proper loading (spray arm motor or circulation issue)
- Unusual noises during operation, grinding, rattling, squeaking, or humming (motor, pump, or bearing failure)
- Visible leaks around the door, base, or connections (seal, hose, or valve failure)
- Burning smells or visible smoke (electrical or heating element failure, stop use immediately)
- Control panel malfunction (buttons not responding, display not working)
- Rust or corrosion on internal components visible through the door
Many repair issues caught early cost significantly less than waiting until failure forces replacement.
Choosing a Repair Service
When selecting a repair technician:
- Verify they are factory-certified
- Ask if they use genuine manufacturer parts (not aftermarket replacements)
- Request a diagnostic fee upfront and confirmation before parts replacement
- Check reviews on Google, Yelp, or the Better Business Bureau
- Confirm warranty coverage on parts and labor
Regular maintenance combined with prompt professional service when needed extends your dishwasher's working life and keeps your kitchen running smoothly.
Frequently Asked Questions
How often should you clean the dishwasher filter?
Clean your dishwasher filter monthly as part of routine maintenance. If you run the dishwasher frequently or notice food debris accumulating, inspect it every two weeks. A clogged filter forces the pump to work harder, reducing efficiency and shortening the appliance's lifespan. Regular cleaning prevents buildup that can lead to odors and drainage problems.
What's the best thing to run through your dishwasher to clean it?
Run a white vinegar cycle monthly to dissolve mineral deposits and detergent buildup. Place a cup of vinegar in a bowl on the top rack and run a hot-water cycle with no dishes. For stubborn odors, sprinkle baking soda on the bottom and run another cycle. These eco-friendly cleaners effectively remove limescale and food residue without harsh chemicals that can damage seals and gaskets.
Does using a rinse aid help extend the life of a dishwasher?
Yes, rinse aid significantly extends your dishwasher's lifespan, especially in hard water areas. It prevents mineral deposits from accumulating on spray arms, filters, and internal components. Rinse aid also improves drying performance and reduces water spotting on dishes. Check your water hardness and refill the rinse aid dispenser regularly to protect against limescale buildup that can clog nozzles and strain the pump.
What are the signs that a dishwasher needs professional repair?
Contact a professional if you notice persistent odors despite cleaning, water leaking from the door, spray arms not rotating, dishes remaining dirty, or unusual grinding noises. These indicate problems with the drain pump, water inlet valve, gasket seal, or motor that require professional technicians. Ignoring these warning signs can cause further damage and reduce your appliance's longevity. The Appliance Wizard offers reliable dishwasher repair services with certified technicians who diagnose issues accurately.