 ultimate-guide
How to Maintain Laundry Appliances: 2026 Guide
Table of Contents
- What You'll Need Before You Start
- Monthly Laundry Appliances Maintenance Checklist
- Dryer Vent Cleaning Frequency: How Often Is Enough?
- How to Clean Washer Drum Without Damaging It
- Signs of a Failing Washing Machine You Should Not Ignore
- Water Hoses, Drain Lines, and Leveling: The Hidden Maintenance Tasks
- Hard Water, Energy Efficiency, and Smart Appliance Upkeep
- Common Mistakes That Shorten Laundry Appliances Lifespan
- Frequently Asked Questions
Last Updated: September 26, 2026
What You'll Need Before You Start
Maintaining laundry appliances is the practice of regularly cleaning, inspecting, and adjusting your washer and dryer to prevent breakdowns and keep them running efficiently. This guide from The Appliance Wizard covers the full routine, from door seals to drain lines. Before you start, gather a few basics so you can work through the checklist in one sitting rather than hunting for supplies mid-task.
Here's what to have on hand:
- A microfiber cloth and a soft-bristle brush
- White vinegar or a washing machine cleaner tablet
- A vacuum with a crevice attachment
- A level (a phone app works in a pinch)
- Work gloves and a flashlight
Most of these tasks take under 10 minutes each. Done monthly, they prevent the buildup and vibration that shorten appliance life. A common mistake is waiting until something smells or shakes before paying attention.
Monthly Laundry Appliances Maintenance Checklist
A consistent monthly routine is the single most effective way to extend the life of your washer and dryer. The tasks below target the parts that fail most often: seals, filters, vents, and hoses. Set a recurring reminder and work through them in order. Each entry includes the mechanism behind the task so you understand what you are actually protecting.
| Task | Frequency | Time Needed | Why It Matters |
|---|---|---|---|
| Clean door seal and gasket | Monthly | 5 min | Prevents mildew and odor |
| Clear lint screen | Every load | 1 min | Restores airflow |
| Inspect exhaust vent | Monthly | 10 min | Reduces fire hazard |
| Check water hoses | Monthly | 5 min | Catches leaks early |
| Run drum cleaning cycle | Monthly | 1 cycle | Removes detergent buildup |
| Check drain pump filter (front-loaders) | Monthly | 5 min | Prevents slow drains and odors |
| Wipe detergent drawer and dispenser | Monthly | 3 min | Stops residue clogs |
| Vacuum dryer cabinet vents and blower housing | Quarterly | 15 min | Protects the motor from overheating |
Clean the Washer Drum and Door Seal
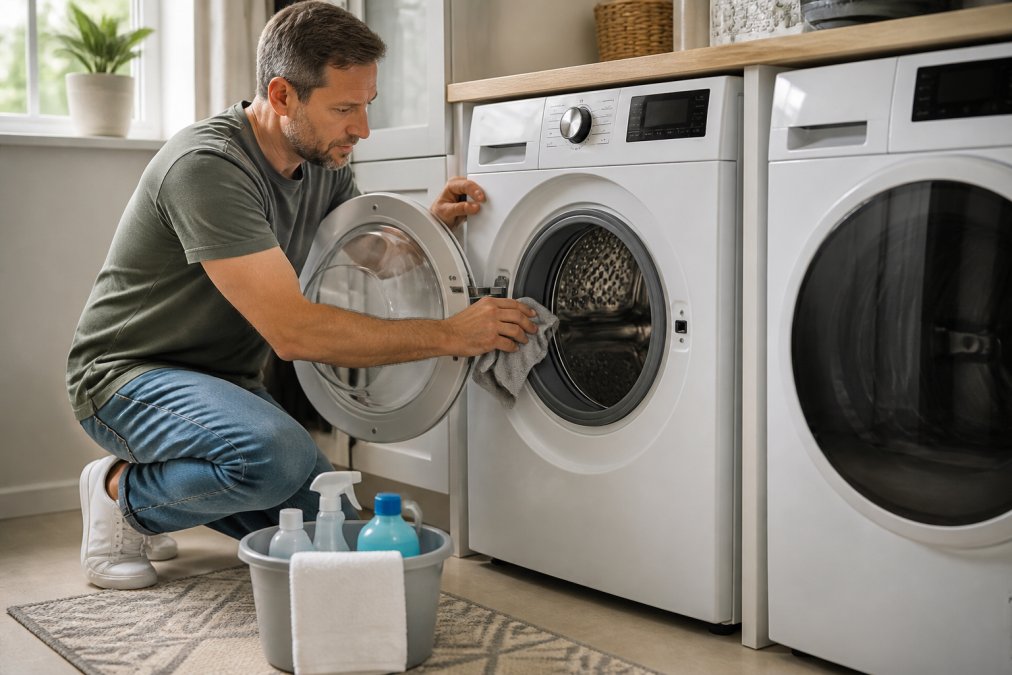
The rubber gasket around a front-load door traps moisture, lint, and detergent residue. That combination feeds mildew. Wipe the folds of the gasket with a diluted vinegar solution, then dry it completely with a cloth. Leave the door ajar between loads so air circulates. Pay attention to the small drain holes at the bottom of the gasket; if they clog, water pools and the odor returns within days.
For the drum itself, run a hot cycle with a cleaner or a cup of white vinegar and no clothes. This loosens detergent buildup that causes odors. On top-loaders, pause the cycle after agitation and let the drum soak for 30 to 60 minutes before resuming. On front-loaders, pour the cleaner into the detergent drawer and select the drum cleaning or tub clean cycle if the machine offers one.
Clear the Dryer Lint Screen and Exhaust Vent
The lint screen is the first line of defense against airflow restriction. Pull it out and clear it after every load, not just when it looks full. A clogged screen forces the dryer to run longer and heats the cabinet unnecessarily. Once a month, wash the screen with warm soapy water and a soft brush; fabric softener leaves a waxy film that water alone will not remove, and that film slows drying times even when the screen looks clean.
The exhaust vent behind the dryer is the part people forget. Disconnect the duct and vacuum out accumulated lint at least monthly. Restricted airflow is a leading cause of dryer fires, and the U.S. Fire Administration guidance on dryer vent safety explains why lint ignition is so common. While the duct is off, check for crushed sections, kinks, and disconnected joints. Rigid metal duct outperforms flexible foil or plastic duct because it resists crushing and does not sag into low spots where lint collects.
Check Water Hoses and Drain Pump Filter
Inspect the hot and cold inlet hoses for cracks, bulging, or moisture around the fittings. Run a finger along the length of each hose; a bulge means the inner lining is failing and the hose should be replaced before it bursts. Most manufacturers recommend replacing rubber inlet hoses every five years regardless of appearance, and upgrading to braided stainless steel hoses is a low-cost way to reduce flood risk.
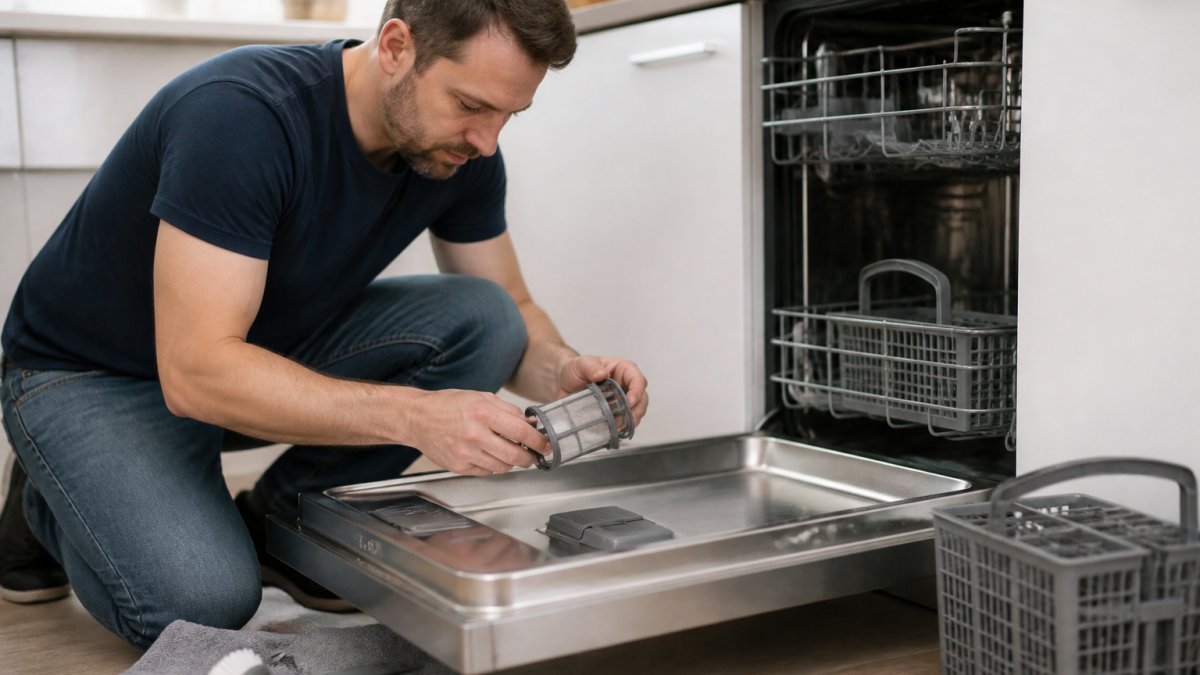
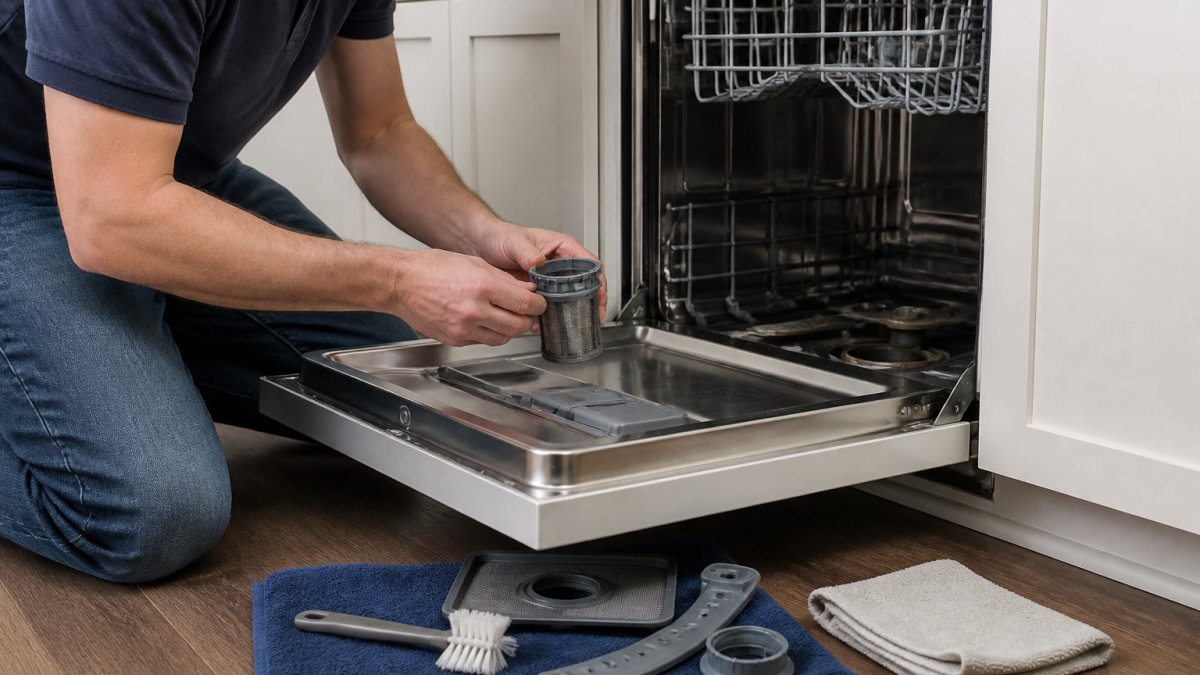
On front-loaders, the drain pump filter sits behind a small access panel near the bottom of the machine. Place a shallow pan and towels underneath, unscrew the cap slowly, and pull out lint, coins, hairpins, and other debris. A clogged filter is the most common cause of standing water and slow drains, and clearing it takes about five minutes.
Wipe the Detergent Drawer and Dispenser
Detergent and fabric softener leave a sticky residue in the drawer and the dispenser housing. Over time that residue restricts flow, so the machine dispenses less detergent than you selected and cleaning performance drops. Pull the drawer out, rinse it in warm water, and scrub the housing with a soft brush. Check the small siphon cap on the softener compartment; if it is clogged, softener will sit in the drawer instead of releasing into the rinse cycle.
Vacuum the Dryer Cabinet and Blower Housing
Once a quarter, unplug the dryer and remove the lower access panel or the back panel, depending on the model. Vacuum lint from around the blower housing, the motor, and the heating element area. This is the lint that slips past the screen and accumulates where it can contact hot components. A shop vacuum with a crevice tool reaches most of it in a few minutes. If you are not comfortable removing panels, a technician can perform this step during an annual service visit.
Dryer Vent Cleaning Frequency: How Often Is Enough?
Dryer vent cleaning frequency should be at least once a year for the full duct run, with monthly checks of the visible sections. Households that do many loads per week, or that dry pet bedding and heavy towels, should clean more often. The longer the duct and the more bends it has, the faster lint collects.
A simple test: after a cycle, touch the outside vent flap. If it's barely moving or the dryer feels hot to the touch, airflow is restricted. That's your signal to clean the full run. For a thorough job, many homeowners bring in a technician who can reach the entire duct and confirm there are no crushed sections or disconnected joints.
How to Clean Washer Drum Without Damaging It
To clean a washer drum safely, use a manufacturer-approved cleaner or white vinegar on a hot cycle, and never mix bleach with vinegar or ammonia. Harsh combinations can damage internal components and void your warranty. Skip abrasive scrubbers entirely; they scratch the stainless finish and create spots where residue clings.
For top-loaders, fill the drum with hot water, add your cleaner, and let it agitate briefly before pausing to soak. For front-loaders, pour the cleaner into the detergent drawer and run the drum cleaning cycle if your machine has one. After the cycle, wipe the drum dry and leave the door open.
Signs of a Failing Washing Machine You Should Not Ignore
Signs of a failing washing machine include persistent vibration, standing water after a cycle, a burning smell, and error codes that return after a reset. Any one of these points to a mechanical or drainage problem that gets worse with use. Catch them early and the fix is usually simple.
Watch for these specific symptoms:
- Excessive vibration: often a leveling issue or a worn suspension
- Water left in the drum: a clogged drain pump filter or kinked drain hose
- Burning smell: a failing belt, motor, or thermal fuse
- Loud banging on spin: an unbalanced load or failing bearings
- Slow draining: a partially blocked drain hose
If you're comfortable with basic troubleshooting, our team at The Appliance Wizard can talk you through the likely cause over the phone before you commit to a repair. Certified technicians handle the jobs that need parts or a full diagnostic.
Water Hoses, Drain Lines, and Leveling: The Hidden Maintenance Tasks
Water inlet hoses, drain lines, and leveling are the maintenance tasks that rarely make the checklist but cause the most damage when ignored. A burst inlet hose can release hundreds of gallons before you notice. Inspect hoses monthly for cracks, bulging, or moisture around the fittings, and replace any hose that shows wear.
Leveling matters more than people think. An unlevel machine vibrates, walks across the floor, and stresses its bearings. Place a level on top of the machine and adjust the feet until it sits flat. If the machine still rocks, tighten the lock nuts on the feet.
The drain hose should have no kinks and should sit above the standpipe to prevent backflow. Check the drain pump filter on front-loaders every few months and clear trapped lint, coins, and debris.
Hard Water, Energy Efficiency, and Smart Appliance Upkeep
Most maintenance guides stop at cleaning lint traps and door seals. Three factors that no top-ranking guide covers in detail have an outsized effect on how long your washer and dryer last: the mineral content of your water, the energy each cycle actually consumes, and the firmware running inside connected machines. Here is how to manage each one.
Hard Water: The Silent Lifespan Killer
Hard water leaves mineral scale inside the drum, on heating elements, and in the drain lines. That scale forces the machine to work harder, which raises energy use and shortens component life. If you notice white crust on faucets, spotted glassware, or a filmy residue on clothes after washing, your water is likely hard. You can confirm the exact level with an inexpensive test strip or by checking your municipal water quality report, which most utilities publish online.
Scale builds fastest on the heating element, because minerals precipitate out of water as it heats. A scaled element takes longer to reach temperature, so cycles run longer and consume more electricity. In a front-loader, scale also roughens the stainless drum surface, giving detergent residue and biofilm more places to cling.
To manage hard water:
- Descale on a schedule. Run a citric acid or commercial descaler cycle every one to three months, depending on hardness. Citric acid is inexpensive, non-toxic, and effective against calcium carbonate scale.
- Use the right detergent dose for your hardness. Hard water needs slightly more detergent to work, but over-dosing in soft water leaves residue. Follow the detergent label's hardness guidance rather than guessing.
- Add a water softener or a descaling cartridge if your hardness is very high. A whole-home softener protects every appliance, not just the washer.
- Wipe the drum and gasket dry after each use so minerals do not dry into the rubber folds.
Energy Efficiency: Maintenance That Pays You Back
Maintenance is not just about preventing repairs; it directly lowers the energy each cycle consumes. The biggest lever is airflow. A dryer with a restricted lint screen or vent runs longer and hotter, and the heating element cycles on more often. Keeping the screen and vent clear is the single highest-return maintenance task in the laundry room.
Other efficiency habits that compound over a year:
- Run full loads. Two half-loads use roughly twice the water, detergent, and energy of one full load.
- Wash in cold water when the load allows. Heating water accounts for the majority of a washer's energy use per cycle.
- Use high-spin cycles. A faster final spin extracts more water, so the dryer runs shorter.
- Dry loads back-to-back. A warm dryer from the previous load reaches temperature faster.
- Clean the moisture sensor bars inside the dryer drum with a cloth and a little rubbing alcohol. Film on the sensors makes the dryer think clothes are still damp, so it keeps running.
The ENERGY STAR guidance on maintaining appliances is a useful reference for keeping efficiency high between service visits.
Smart Appliance Upkeep: Firmware, Sensors, and Connectivity
Wi-Fi-connected washers and dryers add a maintenance layer that no traditional guide addresses. These machines run firmware, report diagnostics over the network, and rely on sensors that can drift or fail silently.
- Keep firmware updated. Manufacturers push updates that fix bugs, improve cycle logic, and occasionally patch security issues. Enable automatic updates if the app supports it, or check the app monthly.
- Re-check the network after router changes. A new router, a changed password, or a moved access point can drop the machine offline. A dropped connection disables remote diagnostics that would otherwise flag a problem early.
- Clean the sensors. Moisture sensors in the dryer and turbidity or load-size sensors in the washer can be fouled by detergent film. Wipe them per the manual.
- Watch for error codes that return after a reset. A code that clears and comes back is a real fault, not a glitch. Note the code and look it up before it escalates.
- Do not ignore app notifications. A "vent blocked" or "drain filter" alert is the machine telling you a maintenance task is due.
Putting the Three Together
Hard water, energy waste, and neglected firmware rarely announce themselves. They show up as longer cycles, higher utility bills, and error codes that seem to come from nowhere. A monthly routine that includes a descale check, a lint and vent inspection, and a quick look at the appliance app covers all three without adding much time to your schedule.
Common Mistakes That Shorten Laundry Appliances Lifespan
Overloading, over-dosing detergent, and skipping maintenance are the three habits that send appliances to an early grave. Each one strains the motor, seals, and bearings in ways that don't show up until the damage is done. The U.S. Department of Energy appliance efficiency resources notes that how you operate an appliance affects both its lifespan and its energy draw.
Avoid these:
- Overloading: Keep loads within the drum's capacity so clothes tumble freely
- Too much detergent: Excess suds leave residue that feeds mildew and clogs lines
- Ignoring the lint screen: Even a thin layer restricts airflow
- Never running a hot cycle: Cold-only washing lets detergent buildup accumulate
- Skipping hose checks: A cracked water supply line can flood a room
For DIYers who want to handle replacements themselves, genuine parts are the difference between a lasting fix and a repeat repair. We stock a full inventory of manufacturer parts and offer financing on larger replacements, so a failing unit doesn't have to become an emergency. A ENERGY STAR guidance on maintaining appliances is a good reference for keeping efficiency high between service visits.
A failing washer or dryer rarely announces itself until the damage is done, and by then the repair is bigger than it needed to be. The Appliance Wizard helps homeowners across the region keep their laundry appliances running with genuine replacement parts, factory-trained technicians, and honest troubleshooting before we ever suggest a new unit. Whether you need a quick diagnostic, a part for a DIY fix, or a reliable replacement with financing, our family-owned team is here to help. Get started with The Appliance Wizard and keep your laundry room running without the guesswork.
Frequently Asked Questions
What regular maintenance does a washer and dryer need?
A washer needs monthly drum cleaning, door seal wiping, and lint filter rinsing, plus quarterly checks of water inlet hoses for cracks or bulges. A dryer needs the lint screen cleared after every load, the exhaust vent cleared at least once a year, and the vent pipe inspected for airflow restriction. Checking the drain pump filter every few months and leveling the machine also prevents vibration and mechanical failure over time.
How often should I clean my washing machine filter?
Clean the drain pump filter every three months, or monthly if you wash pet hair, heavy lint, or heavily soiled work clothes. A clogged filter slows draining, leaves moisture residue in the drum, and can trigger error codes. Before opening the filter, place a shallow pan and towel underneath because trapped water will drain out. If the filter is damaged or the housing is cracked, replace it rather than resealing it.
What is the best way to prevent dryer fires?
Clean the lint screen before every load and clear the exhaust vent at least once a year. Lint buildup restricts airflow, raises drum temperatures, and can ignite. Use rigid or semi-rigid metal duct instead of flexible foil or plastic, keep the duct run as short as possible, and check the outdoor vent flap opens freely. If drying times suddenly lengthen, stop using the dryer and have the vent inspected before running another cycle.
Can improper maintenance void my appliance warranty?
Yes. Most manufacturers require proof of routine maintenance, and damage caused by neglect, such as a clogged vent or a corroded hose, is typically excluded from coverage. Keep receipts for filters, hoses, and professional service visits. If you are unsure whether a repair falls under warranty, contact a factory-trained technician before attempting a DIY fix, since unauthorized repairs can also void coverage.