 how-to
Professional Installation for Home Appliances: What to Know
Table of Contents
- Why Professional Installation for Home Appliances Matters
- Appliance Installation Cost Estimate: What Factors Decide the Price
- Appliance Installation Safety Standards and Local Building Codes
- Step-by-Step: What to Expect During a Professional Installation
- Preparing Your Home for Appliance Delivery and Setup
- Smart Home Appliance Setup Guide: Beyond the Basic Hookup
- Post-Installation Checklist and Common Mistakes to Avoid
- Conclusion: Protect Your Investment with Certified Pros
- Frequently Asked Questions
Last Updated: September 9, 2026
Why Professional Installation for Home Appliances Matters
Professional installation for home appliances is the process of having a certified technician connect, level, and test major appliances according to manufacturer specifications. It protects your warranty, your safety, and the performance of equipment that most households rely on daily. Many homeowners skip this step to save money, but the risks often surface later as voided coverage or premature breakdowns.
A common mistake is assuming that "plug it in and slide it over" counts as installation. Refrigerators need water line connections and proper leveling. Gas ranges require leak testing and correct orifice sizing. Ventless dryers and over-the-range microwaves demand precise clearances. Each task carries real consequences if done incorrectly, from water damage to carbon monoxide risk.
At The Appliance Wizard, our factory-trained technicians handle these details daily for homeowners across Southern Illinois. The value of professional installation for home appliances extends beyond convenience; it is the difference between an appliance that runs at peak performance for years and one that fails quietly under the stress of improper setup. Below, we walk through what installation involves, what it costs, and how to prepare your home.
Appliance Installation Cost Estimate: What Factors Decide the Price
An appliance installation cost estimate depends on several variables, and no two quotes should look identical. The type of appliance matters most: a simple dishwasher swap is far less involved than a gas range installation requiring a gas line connection and ventilation. Complexity of the hookup, accessibility of the space, and whether old units need removal all shift the final number.
Here is what typically drives pricing:
- Connection type: gas, electric, or water hookups each require different skill levels and materials
- Existing infrastructure: older homes may need electrical wiring or plumbing updates to meet current installation standards
- Removal and disposal: hauling away the old unit adds labor and requires proper appliance disposal practices
- Location within the home: basement or tight-kitchen installs take longer than open first-floor spaces
| Appliance | Typical Installation Cost Range | What's Included |
|---|---|---|
| Dishwasher (replacement) | $150 - $300 | Hookup to existing water, drain, and electrical; leveling; leak test |
| Dishwasher (new line) | $300 - $500 | Adding a dedicated water line and drain rough-in; may require a permit |
| Electric Range | $100 - $200 | 240V outlet verification, leveling, anti-tip bracket installation |
| Gas Range | $150 - $400 | Gas line connection, leak testing, regulator adjustment, anti-tip bracket |
| Refrigerator with ice maker | $100 - $250 | Water line connection (if pre-existing), leveling, final positioning |
| Refrigerator (new water line) | $250 - $450 | Running a copper or braided supply line to the unit; may require drilling |
| Clothes Washer | $100 - $200 | Hot/cold water hookup, drain hose connection, leveling, test cycle |
| Clothes Dryer (electric) | $100 - $200 | 240V outlet verification, vent connection, leveling |
| Clothes Dryer (gas) | $150 - $350 | Gas line connection, leak test, vent connection, leveling |
| Over-the-Range Microwave | $150 - $300 | Mounting, venting (recirculating or ducted), electrical connection |
| Built-in Wall Oven | $200 - $400 | Electrical connection, cabinet fitting, leveling, securing |
| Cooktop (electric) | $150 - $300 | Drop-in fit, 240V connection, sealing |
| Cooktop (gas) | $200 - $450 | Gas line connection, leak test, drop-in fit, sealing |
What's typically NOT included in these base prices:
- Parts and materials: Connection kits, hoses, fittings, venting materials, and anti-tip brackets often cost $20-$80 extra. Some retailers bundle these; independent installers usually charge separately.
- Old appliance haul-away: Expect $25-$75 per unit for removal and proper disposal. Many retailers offer free haul-away when you purchase a new unit from them.
- Electrical or plumbing upgrades: If your home lacks the required 240V outlet, dedicated circuit, or water line, an electrician or plumber will charge $200-$800+ to add one. This is the most common hidden cost.
- Permit fees: Gas line modifications and new circuits often require a permit, typically $50-$200 depending on your municipality.
- Travel fees: Some installers charge a trip fee for homes beyond a certain radius, usually $25-$75.
How to get an accurate quote:
- Measure the space and the path (doorways, hallways, stairwells) before calling. Installers quote based on accessibility.
- Know your current hookups. Is the gas line capped? Is there a 240V outlet within reach? Does the water shut-off valve work? Share this information upfront.
- Ask for a line-item quote. A professional installer should break down labor, parts, haul-away, and permits separately. If they give you a flat number without explanation, ask for details.
- Confirm the quote includes leak testing and a full cycle test. Some low-ball quotes skip these steps and leave you with undetected problems.
- Get at least two quotes for major installations. Compare scope, not just price. The cheapest quote may exclude permits, parts, or haul-away.
Pricing varies by provider and region, so the most reliable approach is to request a quote before committing. Many retailers, including The Appliance Wizard, bundle installation into the purchase price or offer transparent per-service rates. Ask upfront whether the quote includes all connection kits, fittings, seals, and haul-away, so you are not surprised by add-ons later.
Appliance Installation Safety Standards and Local Building Codes
Appliance installation safety standards exist to protect your household from fire, gas leaks, electrical faults, and structural damage. These are codified in local building codes that vary by municipality. A licensed technician knows the requirements for your area, including permit needs for gas line connections and major electrical work.
The most critical safety areas include:
- Gas appliances: leak testing after connection is non-negotiable, and gas range conversion for propane versus natural gas must match your supply
- Electrical appliances: voltage requirements must align with your home's circuits, and dedicated lines are often required for high-draw units
- Ventilation: dryers and range hoods need proper ducting to meet building codes and prevent fire hazards
- Leveling and load-bearing capacity: washers and refrigerators must sit level to function correctly and avoid damaging floors
International Association of Certified Home Inspectors guidelines on appliance safety outlines many of these baseline checks. Local jurisdictions may add their own requirements, so confirm with your installer that they pull permits when mandated. A certified installer will handle this paperwork as part of the service, which is one reason professional installation for home appliances beats a DIY approach for gas and high-voltage connections.
Step-by-Step: What to Expect During a Professional Installation
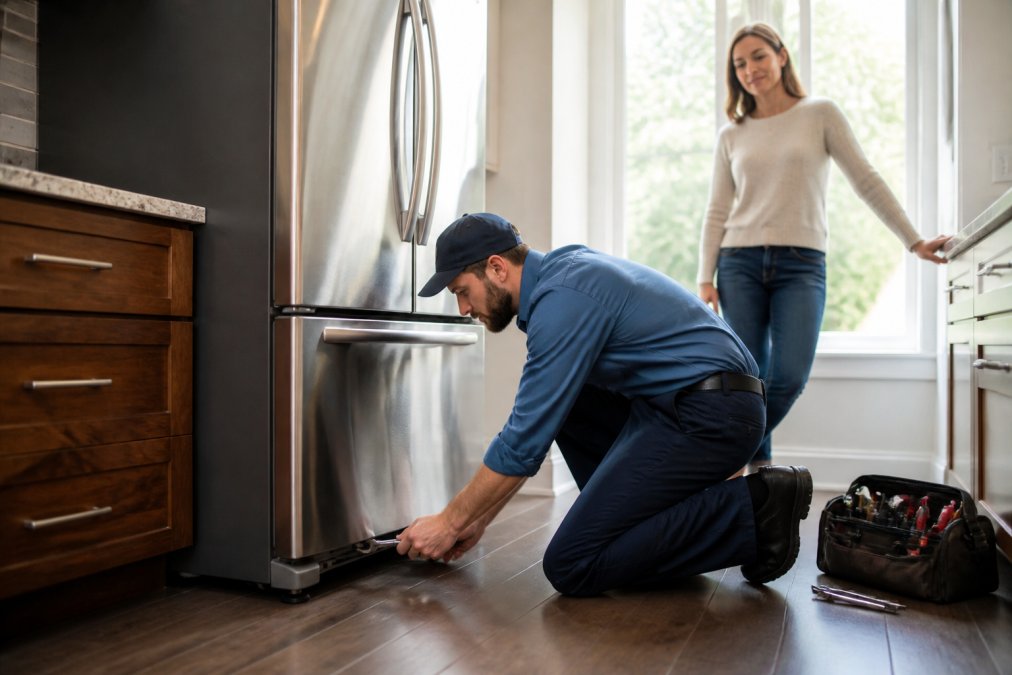
A typical professional installation follows a predictable sequence, and knowing it helps you spot a thorough technician. Expect the visit to last from 30 minutes for a simple dishwasher swap to a few hours for a full kitchen package with gas and plumbing hookups.
- Site inspection: the technician checks the space, confirms clearances, and verifies that existing hookups match the new unit's requirements
- Uncrating and removal: packaging is removed on-site, and the old appliance is disconnected and hauled away if you requested that service
- Connection: water, gas, or electrical lines are attached using the correct installation hardware and manufacturer-approved fittings and seals
- Leveling and securing: the unit is leveled front-to-back and side-to-side to prevent vibration, noise, and premature wear
- Testing: the technician runs a full cycle or diagnostic to confirm operation, checks for leaks, and verifies temperature or pressure settings
- Walkthrough: you are shown how to use the appliance and given any care instructions before the technician leaves
The best installers also check that your home's setup can support the appliance before they begin. If they discover issues like inadequate drainage systems or undersized circuits, they will stop and explain your options rather than forcing a connection that violates safety compliance.
Preparing Your Home for Appliance Delivery and Setup
Preparing your home for appliance delivery is mostly about clearing a path and confirming the space is ready. Measure doorways, hallways, and stairwells to ensure the new unit will fit; delivery teams cannot squeeze a 36-inch refrigerator through a 30-inch opening. Clear the route of rugs, furniture, and obstacles, and make sure the installation area is empty of old units unless removal was arranged.
Before the technician arrives, verify that shut-off valves for water and gas are accessible and functional. If you are replacing a unit, disconnect and remove it beforehand only if your installer does not offer haul-away; otherwise, leave it in place. Confirm that the electrical outlet matches the appliance's plug type and voltage requirements, and check that the floor can support the loaded unit's weight.
A few practical steps make the visit smoother:
- Remove cabinet doors or drawer fronts if the path is tight
- Sweep and clean the installation area so the new unit sits on a clean surface
- Have your owner's manual or model number ready in case questions arise
- Keep children and pets in another room during the installation
ENERGY STAR guidance on preparing for appliance delivery and installation offers a useful checklist for common household units. Proper site preparation reduces the chance of damage to your home and speeds up the technician's work, which often translates to a lower final bill.
Smart Home Appliance Setup Guide: Beyond the Basic Hookup
A smart home appliance setup guide goes beyond physical installation to include network configuration and app integration. Smart refrigerators, washers, and ovens need a stable Wi-Fi connection, account setup, and often firmware updates before they function as intended. Many homeowners assume the retailer handles this; in practice, standard installation often stops at the physical hookup.
Professional installation for home appliances increasingly includes smart setup as an add-on service. This covers connecting the appliance to your home network, downloading the manufacturer app, pairing the device, and walking you through features like remote diagnostics and usage alerts. Troubleshooting connectivity issues is the most common follow-up call, and having a technician verify the connection on-site saves you hours of frustration.
Integration with smart home systems adds another layer. If you want to control your appliances through a central hub or voice assistant, confirm compatibility before purchase. Not all smart appliances work with all ecosystems, and the setup process varies by brand. A knowledgeable installer can confirm that your router placement supports a stable connection and recommend extenders if the appliance sits far from your access point.
Post-Installation Checklist and Common Mistakes to Avoid
The job is not done when the technician leaves. A post-installation checklist protects your investment and catches issues early. Most guides stop at the moment the installer walks out the door, but the first 24 hours and the following weeks are when installation errors reveal themselves. Here is a detailed, appliance-specific maintenance and verification plan.
Immediate Checks (Within 24 Hours)
- Run a full cycle on every appliance. For a dishwasher, run a normal cycle with rinse aid. For a washer, run an empty hot-water cycle. For a dryer, run a load of damp towels on high heat. For an oven, run a 400°F bake cycle for 30 minutes. This confirms all heating elements, pumps, and sensors work under load.
- Check for leaks three times. Look under and around the unit immediately after the first cycle, again after 6 hours, and again the next morning. Slow leaks from a loose compression fitting often appear only after thermal expansion and contraction.
- Listen for unusual noises. A thumping washer indicates improper leveling or transit bolts left in place. A humming refrigerator may mean the compressor is struggling. A rattling dryer often means the vent connection is loose. Report any sound to your installer immediately.
- Verify temperature settings. Refrigerators should reach 37-40°F in the fresh food section and 0°F in the freezer within 24 hours. Use an appliance thermometer, not the built-in display, which can be inaccurate.
- Check the anti-tip bracket. For ranges and ovens, grasp the top of the appliance and tilt it forward. It should not move more than an inch. This is a critical safety check many homeowners skip.
First-Week Verification
- Monitor the floor beneath the appliance. Place a piece of cardboard or paper towel under the unit for the first week. Any moisture stain indicates a slow leak.
- Test the ice maker and water dispenser. Run 2-3 gallons of water through the system to flush out debris from the new water line. Discard the first batch of ice.
- Check the dryer vent from outside. Go outside while the dryer runs and confirm air is exhausting properly. Weak airflow means the vent is kinked or improperly connected.
- Run a second full cycle on the dishwasher and washer. Some issues only surface on the second or third cycle when components have settled.
Common Installation Mistakes to Avoid on Your End
- Skipping the 24-hour settling period for refrigerators. If the unit was transported on its side, the compressor oil needs time to drain back. Plugging it in immediately can damage the compressor. Wait 24 hours, or 4 hours minimum, before powering on.
- Overloading the first wash or dry cycle. New machines need a break-in period. Overloading stresses the motor and belts before they have worn in. Start with half loads for the first three cycles.
- Ignoring error codes on smart displays. A code like "E1" or "LO" is not a suggestion. Look it up in the manual or call your installer. Many issues are simple fixes, but ignoring them can cause secondary damage.
- Using the wrong venting material for dryers. Flexible plastic or foil vents are fire hazards. The U.S. Consumer Product Safety Commission recommends rigid metal or semi-rigid metal ducting. If your installer used anything else, request a correction.
- Discarding the installation records. Warranty protection often requires proof of professional installation. Keep the invoice, the model/serial number, and the installation date in a file. Manufacturer specifications may stipulate certified labor for warranty coverage.
Long-Term Preventative Maintenance Schedule
| Frequency | Task | Appliance |
|---|---|---|
| Every 6 months | Clean condenser coils | Refrigerator |
| Every 6 months | Clean the dryer vent and lint trap | Dryer |
| Annually | Inspect washing machine hoses for cracks or bulges; replace if older than 5 years | Washer |
| Annually | Check the dishwasher drain hose for kinks and clean the filter | Dishwasher |
| Annually | Test the gas shut-off valve and check for gas odor near connections | Gas range, dryer |
| Every 2 years | Replace the washing machine supply hoses with new stainless steel braided hoses | Washer |
When to Call Your Installer Back
- Water pooling under the unit after the first week
- Persistent error codes that reappear after a reset
- Unusual smells (burning, gas, or musty) coming from the appliance
- Visible rust or corrosion on connections within the first month
- The unit rocks or shifts when in use, indicating improper leveling or missing anti-tip hardware
U.S. Consumer Product Safety Commission guidance on appliance maintenance and fire prevention highlights the importance of regular upkeep for safety and performance. If you notice anything unusual after installation, contact your installer promptly rather than attempting a fix yourself; DIY repairs can void your warranty and create safety hazards. A professional installer stands behind their work, but they can only fix what they know about. Report issues early, keep your records organized, and follow this maintenance schedule to get the full lifespan out of your new appliance.
Conclusion: Protect Your Investment with Certified Pros
Professional installation for home appliances is an investment in safety, performance, and peace of mind. It protects your warranty, ensures compliance with local building codes, and prevents the costly mistakes that surface months after a DIY install. From gas line connections to smart home integration, the right technician handles the details most homeowners never see.
The Appliance Wizard pairs every appliance purchase with factory-trained, certified technicians who handle installation, setup, and ongoing service across most major brands. Our team provides transparent service with no hidden loopholes, and we stand behind our work with warranty support and genuine replacement parts. Whether you are outfitting a full kitchen remodel or replacing a single washer, we make sure the job is done right the first time.
Get started with The Appliance Wizard and schedule your professional installation today.
Frequently Asked Questions
How much does professional appliance installation cost?
The cost depends on several factors: the type of appliance, whether gas or electrical connections are needed, and the complexity of the setup. Simple jobs like a dishwasher swap may cost less than installing a gas range that requires a new line. Always ask for a written quote before work begins. At The Appliance Wizard, installation pricing is transparent and confirmed upfront, so you know exactly what you are paying for before any work starts.
What are the risks of DIY appliance installation?
DIY installation carries real risks, including voiding your manufacturer warranty, creating gas leaks, or causing electrical damage. Improper leveling can also shorten an appliance's lifespan. DIY mistakes often cost more to fix than hiring a professional in the first place. A certified installer follows manufacturer specifications and local building codes, protecting both your safety and your investment. If something goes wrong later, you also have a service record to support a warranty claim.
Do I need a licensed professional to install a gas appliance?
Yes. Gas appliance installation is not a DIY project. Connecting a gas range or dryer requires a licensed technician who can test for leaks and verify proper ventilation. Doing it yourself is dangerous and often illegal under local building codes. Many municipalities require a permit and inspection for gas work. A certified professional handles the permit process, leak testing, and safety compliance, ensuring the installation meets all appliance installation safety standards.
What should I do to prepare my home for appliance delivery?
Clear a path from the entry door to the installation area, including hallways and doorways. Measure door openings to confirm the new appliance will fit. Disconnect and remove the old appliance before the delivery window, and make sure the installation space is clean and level. Have a working outlet nearby for electric models or a shutoff valve for gas models. Tell the installer about any stairs, tight corners, or fragile flooring before they arrive.