 how-to
Why Your Dryer Takes Two Cycles to Dry: 7 Fixes
Table of Contents
- Why Your Dryer Takes Two Cycles to Dry
- Clogged Dryer Vent Symptoms and How They Slow Drying
- How to Clean a Dryer Vent Properly
- Lint Buildup in the Lint Screen and Vent Line
- Overloaded Dryer Symptoms and Load Size Guidance
- Dryer Not Heating Properly: Thermostat and Heating Element Issues
- Moisture and Humidity Sensor Failures
- Washer Spin Performance and Load Moisture
- When to Call a Professional
- Conclusion
- Frequently Asked Questions
Last Updated: October 21, 2026
Why Your Dryer Takes Two Cycles to Dry
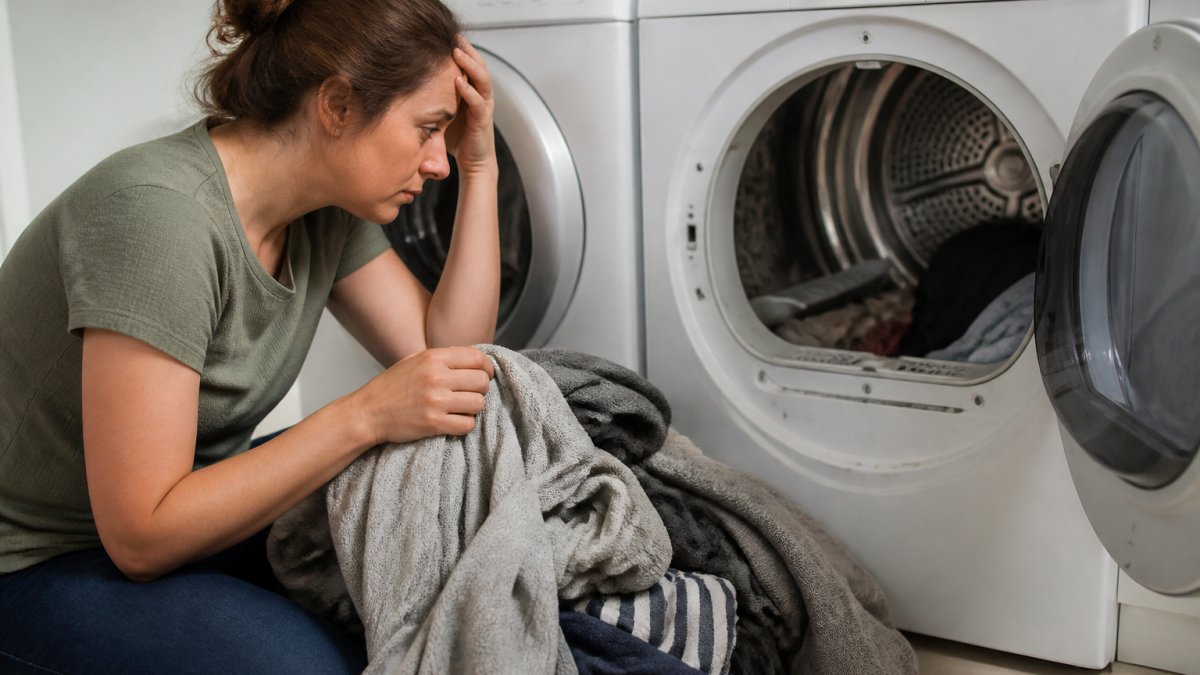
When your dryer takes two cycles to dry clothes, something is blocking heat or airflow. The good news: most causes are fixable without calling a repair technician.
Your dryer works by pulling air through your lint screen and vent line, heating that air, and circulating it around your drum. When this airflow slows, drying takes longer. Sometimes the problem is simple lint buildup. Other times, a failing sensor or heating element is the culprit.
We'll walk you through the most common reasons why your dryer takes two cycles to dry, plus step-by-step fixes you can try today. Most homeowners solve this problem in under an hour.
Clogged Dryer Vent Symptoms and How They Slow Drying
A clogged dryer vent is the #1 reason your dryer takes two cycles to dry. When lint blocks the vent line, hot air cannot escape. Your dryer keeps running but clothes stay wet.
Recognizing restricted airflow
Look for these signs of a clogged vent:
- Clothes are damp after a full cycle
- The dryer drum is very hot to touch
- Lint appears around the vent opening outside your home
- The vent flapper doesn't open when the dryer runs
- You haven't cleaned the vent in over a year
A simple test: hold your hand near the outside vent opening while the dryer runs. You should feel strong, warm air pushing out. If the airflow is weak or barely noticeable, your vent is restricted.
Safety concerns with blocked vents
Restricted airflow does more than slow drying. Heat builds up inside the dryer cabinet. Over time, this stress damages the heating element and thermostat. Your dryer also works harder and uses more energy, raising your utility bills.
Most importantly, lint is extremely flammable. A clogged vent traps lint inside the duct, where heat can ignite it. Professional dryer vent cleaning services exist specifically because this risk is real and serious.
How to Clean a Dryer Vent Properly
Cleaning your dryer vent is the fastest way to fix slow drying. You can do this yourself with basic tools.
Tools and materials you'll need
- Vacuum with hose attachment
- Vent cleaning brush (accordion-style or flexible rod brush)
- Screwdriver (to disconnect the vent duct if needed)
- Flashlight
- Bucket or trash bag (for lint)
Step-by-step cleaning process
Step 1: Unplug your dryer. Safety first. Never work on an appliance while it is plugged in.
Step 2: Locate your vent duct. Follow the metal duct from the back of your dryer to where it exits your home. Most vents run through an exterior wall or roof.
Step 3: Remove lint from inside the dryer. Pull out the lint screen and vacuum inside the lint trap opening. You'll be surprised how much lint hides there.
Step 4: Disconnect the vent duct (optional but recommended). If the duct is clamped to the dryer outlet, loosen the clamp with a screwdriver and slide the duct off. This gives you better access.
Step 5: Insert your vent cleaning brush. Feed the brush into the duct from the dryer end. Push it toward the outside vent opening. Twist and pull the brush back and forth to dislodge lint.
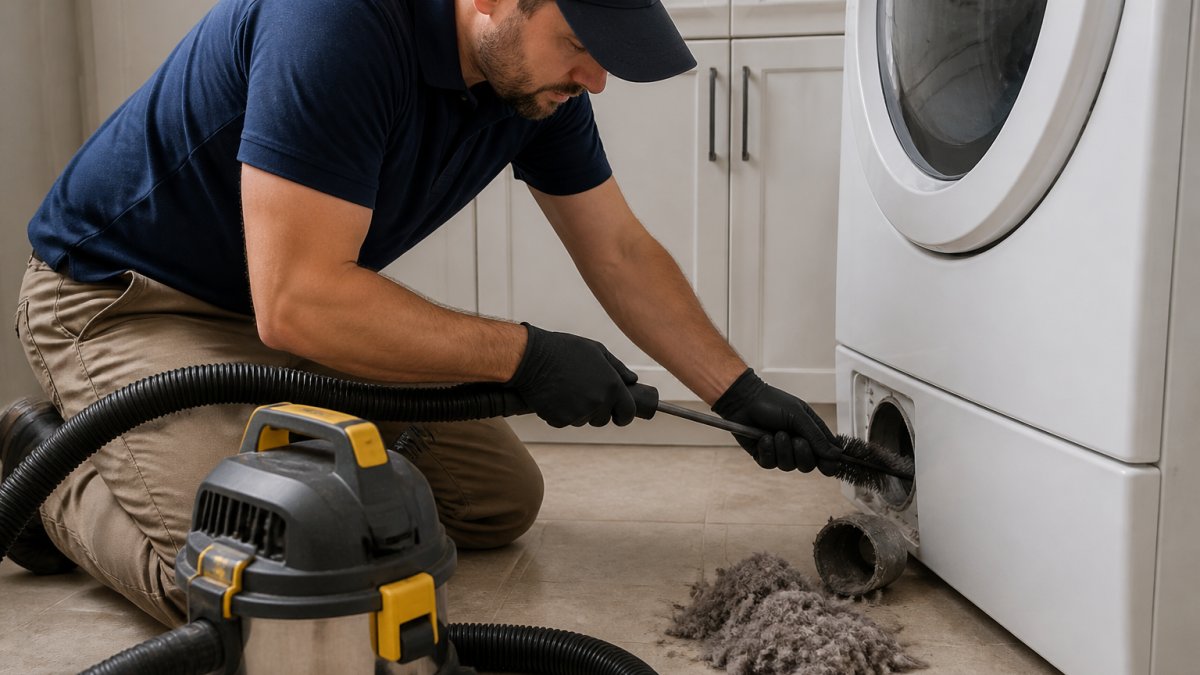
Step 6: Vacuum the loosened lint. Use your vacuum hose to pull out lint the brush dislodges. Work from both ends if possible. Repeat the brush-and-vacuum cycle until no more lint comes out.
Step 7: Check the outside vent. Go outside and remove any lint from the vent opening. Make sure the vent flapper moves freely. If it is stuck, clean around it or replace it.
Step 8: Reconnect the duct. Slide the duct back onto the dryer outlet and tighten the clamp.
Step 9: Run a test cycle. Plug in your dryer and run a short cycle. Feel the air at the outside vent. It should be warm and strong.
Most homeowners find that cleaning the vent solves the two-cycle problem immediately.
Lint Buildup in the Lint Screen and Vent Line
Even if your vent is not completely clogged, lint buildup slows drying. Lint accumulates in two places: the screen itself and inside the vent line.
A clogged lint screen is the easiest problem to fix. Simply empty the screen after every load. Wash it with warm soapy water once a month to remove the fine film that builds up over time. This film reduces airflow more than you'd expect.
Lint also collects inside the vent duct where you cannot see it. This is why professional vent cleaning matters. A flexible brush reaches deep into the duct and removes lint that a lint screen alone cannot catch. If your dryer takes two cycles to dry and you've cleaned the screen, the hidden lint in the duct is likely the culprit.
The fix: clean your vent duct at least once a year. If you have pets or a large household, clean it twice a year. This maintenance prevents your dryer from taking two cycles and extends the life of your heating element.
Overloaded Dryer Symptoms and Load Size Guidance
Stuffing too many clothes into one load is another common reason your dryer takes two cycles to dry. Wet fabric packed tightly blocks hot air from reaching the center of the load.
How full is too full?
Fill your dryer drum until clothes are loosely packed. You should be able to close the door and still fit your hand inside with room to move. If you have to force the door shut or cannot fit your hand in, the load is too large.
A good rule: fill the drum about three-quarters full. This leaves space for hot air to circulate around every piece of fabric.
Overloaded dryers take longer to dry AND wear out faster. The motor works harder. The drum bearing strains under extra weight. Over time, these parts fail.
Fabric type and cycle selection
Heavy fabrics like towels, jeans, and comforters hold more moisture than lighter fabrics. These items need more drying time and more space in the drum.
Never mix heavy and light fabrics in one load if you are in a hurry. Towels and t-shirts dry at different rates. By the time towels are dry, t-shirts are overdried and wrinkled.
Use the correct cycle for your load:
- Towels and heavy fabrics: high heat, 60-90 minutes
- Regular clothes: medium heat, 40-50 minutes
- Delicates: low heat, 20-30 minutes
- Sensor-dry mode: let the dryer detect moisture and stop automatically
Sensor-dry cycles are worth using. Your dryer stops when clothes reach the target moisture level, saving energy and preventing overdrying.
Dryer Not Heating Properly: Thermostat and Heating Element Issues
If your dryer runs but produces little heat, the heating element, igniter, or thermostat is likely failing. A weak heat source cannot reach full temperature, so your dryer takes two cycles to dry. The key is to test heat in a safe sequence and to separate electric symptoms from gas symptoms before you buy a part.
First, confirm the dryer is actually heating
Run the dryer on a timed high-heat cycle for 10 minutes with a dry load. Then check three things:
- Air at the outside vent: It should feel hot and move strongly. Warm-but-weak air points to airflow; cool air points to a heat problem.
- Drum temperature: Open the door and carefully touch the inside of the drum. It should be hot enough that you cannot hold your hand on it for more than a second or two. If it is only warm, heat output is low.
- Cycle behavior: If the dryer starts hot and then goes cool before the cycle ends, a thermostat or high-limit switch is cycling off early.
Electric vs. gas: shared causes and model-specific ones
Many slow-drying complaints trace to the same shared causes: restricted venting, a clogged lint screen, an overloaded drum, or a failing moisture sensor. Those are covered elsewhere in this guide. The heat-specific causes split by model type:
Electric dryers
- Heating element: The most common heat failure. Elements can break, sag, or develop a hot spot and open circuit. A partially failed element may still produce some warmth but not enough to dry in one cycle.
- Thermal fuse: A one-time safety device that opens when the dryer overheats, often because of a clogged vent. If the thermal fuse is blown, the dryer runs but produces no heat at all. Never replace a thermal fuse without finding and fixing the airflow restriction that caused it to blow.
- High-limit thermostat: Cuts power to the element when the cabinet gets too hot. A failing high-limit thermostat can cause the dryer to shut off heat mid-cycle.
- Cycling thermostat: Turns the element on and off to hold temperature. If it drifts, the dryer runs cool.
Gas dryers
- Igniter: Glows to light the gas. A cracked igniter means no flame and no heat, even though the drum turns.
- Gas valve coils: Open the valve to release gas. Weak coils are a classic cause of a dryer that heats for a minute and then goes cold.
- Flame sensor: Confirms the burner lit. A dirty or failed flame sensor shuts the gas valve down.
- Vent restriction: Gas dryers are especially sensitive to blocked venting because the burner needs proper airflow to burn and exhaust safely.
A common pattern technicians report: the dryer runs, the drum turns, the air is warm for the first few minutes, then the heat drops off. On an electric dryer that often points to a cycling thermostat or high-limit switch; on a gas dryer it often points to the gas valve coils or flame sensor.
How to test heat output without guessing
If you are comfortable with basic appliance work:
- Unplug the dryer (or shut off the gas valve for a gas unit).
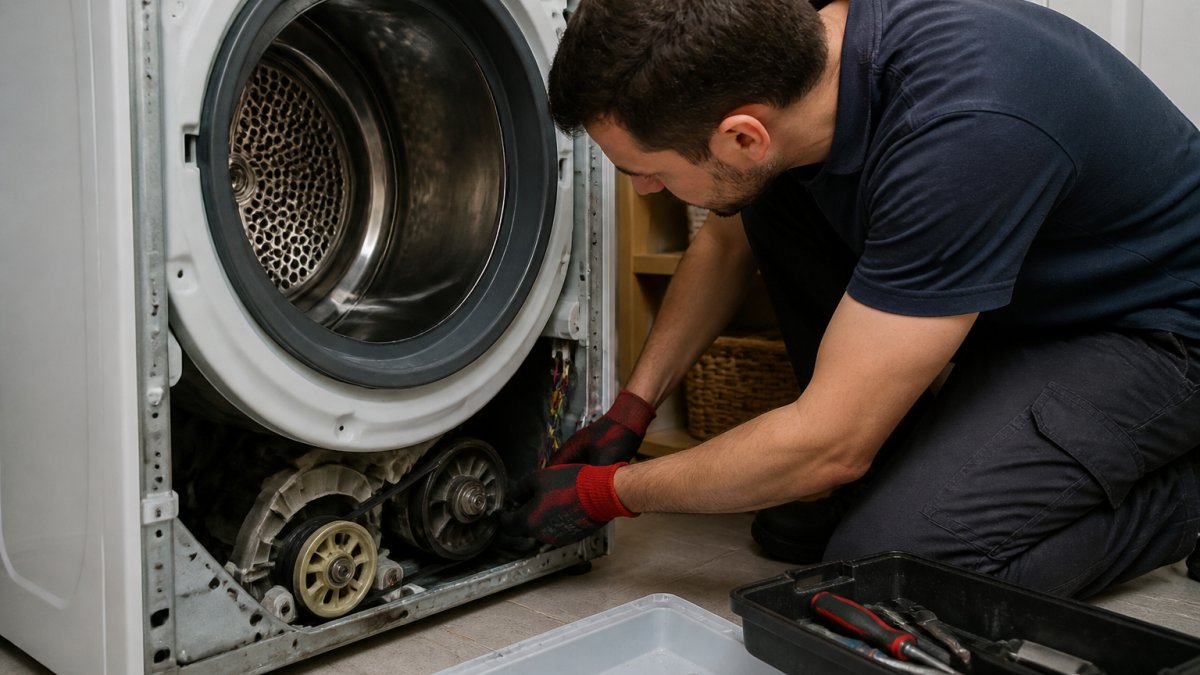
- Remove the back or front panel per your model's service guide.
- Inspect the heating element for a visible break or sag. A broken coil is a confirmed failure.
- Test the thermal fuse and thermostats with a multimeter set to continuity. A good fuse or thermostat shows continuity; an open one reads nothing and needs replacement.
- On gas dryers, check the igniter and coils for cracks or burn marks, and confirm the burner lights when the cycle starts.
If any of these steps feel outside your comfort zone, stop and call a technician. Opening a dryer cabinet, working around 240-volt wiring, or touching gas components carries real risk.
When to replace the heating element
A heating element typically lasts 3-5 years depending on use. If your dryer is older than five years and takes two cycles to dry after you have cleaned the vent and reduced load size, the element is a likely suspect. Replacing an element is a moderate DIY repair if you are comfortable with basic appliance work; many homeowners prefer a professional. The Appliance Wizard stocks genuine replacement elements, thermal fuses, and thermostats for most major dryer brands and can install them if you need expert help.
If your dryer produces heat but clothes still take two cycles after you have cleaned the vent and reduced load size, test the heat path next: element and thermal fuse on electric models, igniter and gas valve coils on gas models. Replace the failed part, and fix the airflow restriction that may have caused it.
Moisture and Humidity Sensor Failures
Modern dryers have moisture sensors that detect when clothes are dry. When the sensor fails, the dryer cannot tell when to stop, so it runs longer or you must run it again.
A failing moisture sensor causes these symptoms:
- Dryer stops before clothes are dry
- Dryer runs too long even after clothes are dry
- Sensor-dry cycles do not work
- You must manually set a time instead of using auto-sense
To test your moisture sensor, run a short cycle on sensor-dry mode. If clothes are still damp, the sensor is likely failing. Some sensors can be cleaned (lint and detergent residue build up on them), but most need replacement.
This is another part where professional help is worth considering. The Appliance Wizard can test your sensor, clean it if possible, or install a replacement.
Washer Spin Performance and Load Moisture
Your dryer cannot work efficiently if your washer is not spinning out water properly. Clothes that leave the washer soaking wet will take two cycles to dry no matter how well your dryer works. This is one of the most overlooked causes of slow drying, and it is worth checking before you spend money on dryer parts.
How wet should clothes be after the spin cycle?
A healthy washer leaves clothes damp but not dripping. A practical test: pull a few items out at the end of the spin cycle and squeeze them over the sink. You should get a few drops, not a stream. If a towel drips steadily or feels heavy and waterlogged, the washer is not extracting enough water.
A common pattern: the dryer runs a full cycle, the clothes come out warm and damp, and a second cycle finishes the job. That is the signature of a weak spin, not a weak dryer.
Check the washer spin before blaming the dryer
Work through these checks in order:
- Confirm the spin setting. Many washers default to a lower spin speed for delicates or bulky cycles. If someone selected a gentle cycle, clothes will enter the dryer wetter than usual. Run a normal or high-spin cycle and compare.
- Check load balance. An unbalanced load, one heavy item or a tangled comforter, can force the washer to reduce or skip the final spin. Redistribute the load and run a spin-only cycle.
- Inspect the drain hose. A kinked, crushed, or clogged drain hose prevents the washer from pumping out water before the spin. Straighten the hose and check for blockages.
- Clean the drain pump filter. Many front-load washers have a filter that traps lint, coins, and debris. A clogged filter slows draining and weakens the spin.
- Listen for spin speed. If the drum never reaches a fast spin, the drive belt, motor, or spin bearing may be failing. That is a washer repair, not a dryer repair.
Why wet clothes change dryer behavior
A dryer removes water in two stages: heat evaporates moisture, and airflow carries it out of the drum. When clothes enter the dryer already saturated, the first stage takes far longer, and the moisture sensor may not register dryness until the load has been running well past a normal cycle. That is why a weak washer spin looks exactly like a dryer problem.
Fixing the washer first saves energy and reduces wear on the dryer. Once clothes are properly spun out, your dryer will dry them in one cycle again.
When to call a professional
If the washer fails to spin at all, leaks during the spin cycle, or makes grinding noises, stop using it and call a technician. Spin and drain repairs involve the pump, motor, and drive components, and a failed spin bearing can damage the drum if ignored. The Appliance Wizard services both washers and dryers.
When to Call a Professional
Some dryer problems are DIY-friendly. Others require professional tools and expertise.
Call a professional if:
- You've cleaned the vent and reduced load size but clothes still take two cycles
- You suspect the heating element or thermostat is failing
- The dryer makes unusual noises
- You smell burning or see sparks
- You are not comfortable opening the dryer cabinet
- Your dryer is under warranty (DIY repairs may void it)
The Appliance Wizard employs factory-trained, certified technicians who diagnose and repair dryers from all major brands. We can often identify the problem and have parts in stock for replacement. We also honor manufacturer warranties and provide transparent pricing.
Conclusion
A dryer that takes two cycles to dry is frustrating, but the fix is usually straightforward. Start by cleaning your vent and lint screen, then reduce your load size. If that does not work, test your heat output and consider whether your heating element or sensor needs replacement. Most of these fixes you can handle yourself, but if you get stuck or want professional help, The Appliance Wizard is here. We carry replacement parts for all major brands, offer service appointments, and our technicians can diagnose and repair your dryer with transparency and expertise. Visit www.theappliancewizard.com or call to schedule service today.
Frequently Asked Questions
Can a clogged dryer vent make clothes take longer to dry?
Yes. A clogged dryer vent severely restricts airflow, preventing hot air from escaping and fresh air from entering the drum. This forces your dryer to work harder and run longer to remove moisture. Even a partial blockage can add 30 minutes or more to drying time. Regular vent cleaning and checking for lint buildup are the fastest fixes.
How often should I clean my dryer lint filter and vent?
Clean the lint screen after every load, it takes 10 seconds and prevents major airflow problems. Check the vent line monthly for lint accumulation, and clean it thoroughly at least twice yearly, or more frequently if you dry heavy fabrics like towels and bedding. A professional vent cleaning every 1-2 years catches blockages you might miss.
Could an overloaded dryer be the reason clothes are still damp?
Absolutely. Overloading prevents hot air from circulating freely around each garment. Fill the drum only three-quarters full for best results. Heavier fabrics like towels and jeans need more space than lighter items. If you consistently overstuff, split loads into two cycles, you'll actually save time and energy compared to running one oversized cycle twice.
When should I call a professional to repair a slow-drying dryer?
Call a professional if cleaning the lint screen and vent doesn't help, if the drum isn't heating at all, or if you hear unusual noises. Heating element replacement, thermostat repairs, and sensor diagnostics require technical expertise. The Appliance Wizard's factory-trained technicians can diagnose the issue and provide transparent repair estimates.